Connect Your Development Environment to MLflow

This guide shows you how to connect your development environment to an MLflow Experiment. You can run MLflow on your local machine, self-host the open source MLflow service, or use a managed offering, such as Databricks Managed MLflow.

Prerequisites

  • Python Environment: Python 3.9+ with pip installed

Setup Instructions

Step 1: Install MLflow

bash
pip install --upgrade "mlflow>=3.1"

Step 2: Configure Tracking

MLflow supports different backends for tracking your experiment data. Choose one of the following options to get started. Refer to the Self Hosting Guide for detailed setup and configurations.

Option A: Database (Recommended)

Set the tracking URI to a local database URI (e.g., sqlite:///mlflow.db). This is recommended option for quickstart and local development.

python
import mlflow

mlflow.set_tracking_uri("sqlite:///mlflow.db")
mlflow.set_experiment("my-genai-experiment")

Option B: File System

MLflow will automatically use local file storage if no tracking URI is specified:

python
import mlflow

# Creates local mlruns directory for experiments
mlflow.set_experiment("my-genai-experiment")
TO BE DEPRECATED SOON

File system backend is in Keep-the-Light-On (KTLO) mode and will not receive most of the new features in MLflow. We recommend using the database backend instead. Database backend will also be the default option soon.

Option C: Remote Tracking Server

Start a remote MLflow tracking server following the Self Hosting Guide. Then configure your client to use the remote server:

python
import mlflow

# Connect to remote MLflow server
mlflow.set_tracking_uri("http://localhost:5000")
mlflow.set_experiment("my-genai-experiment")

Alternatively, you can configure the tracking URI and experiment using environment variables:

bash
export MLFLOW_TRACKING_URI="http://localhost:5000"
export MLFLOW_EXPERIMENT_NAME="my-genai-experiment"

Step 3: Verify Your Connection

Create a test file and run this code:

python
import mlflow

# Print connection information
print(f"MLflow Tracking URI: {mlflow.get_tracking_uri()}")
print(f"Active Experiment: {mlflow.get_experiment_by_name('my-genai-experiment')}")

# Test logging
with mlflow.start_run():
mlflow.log_param("test_param", "test_value")
print("✓ Successfully connected to MLflow!")

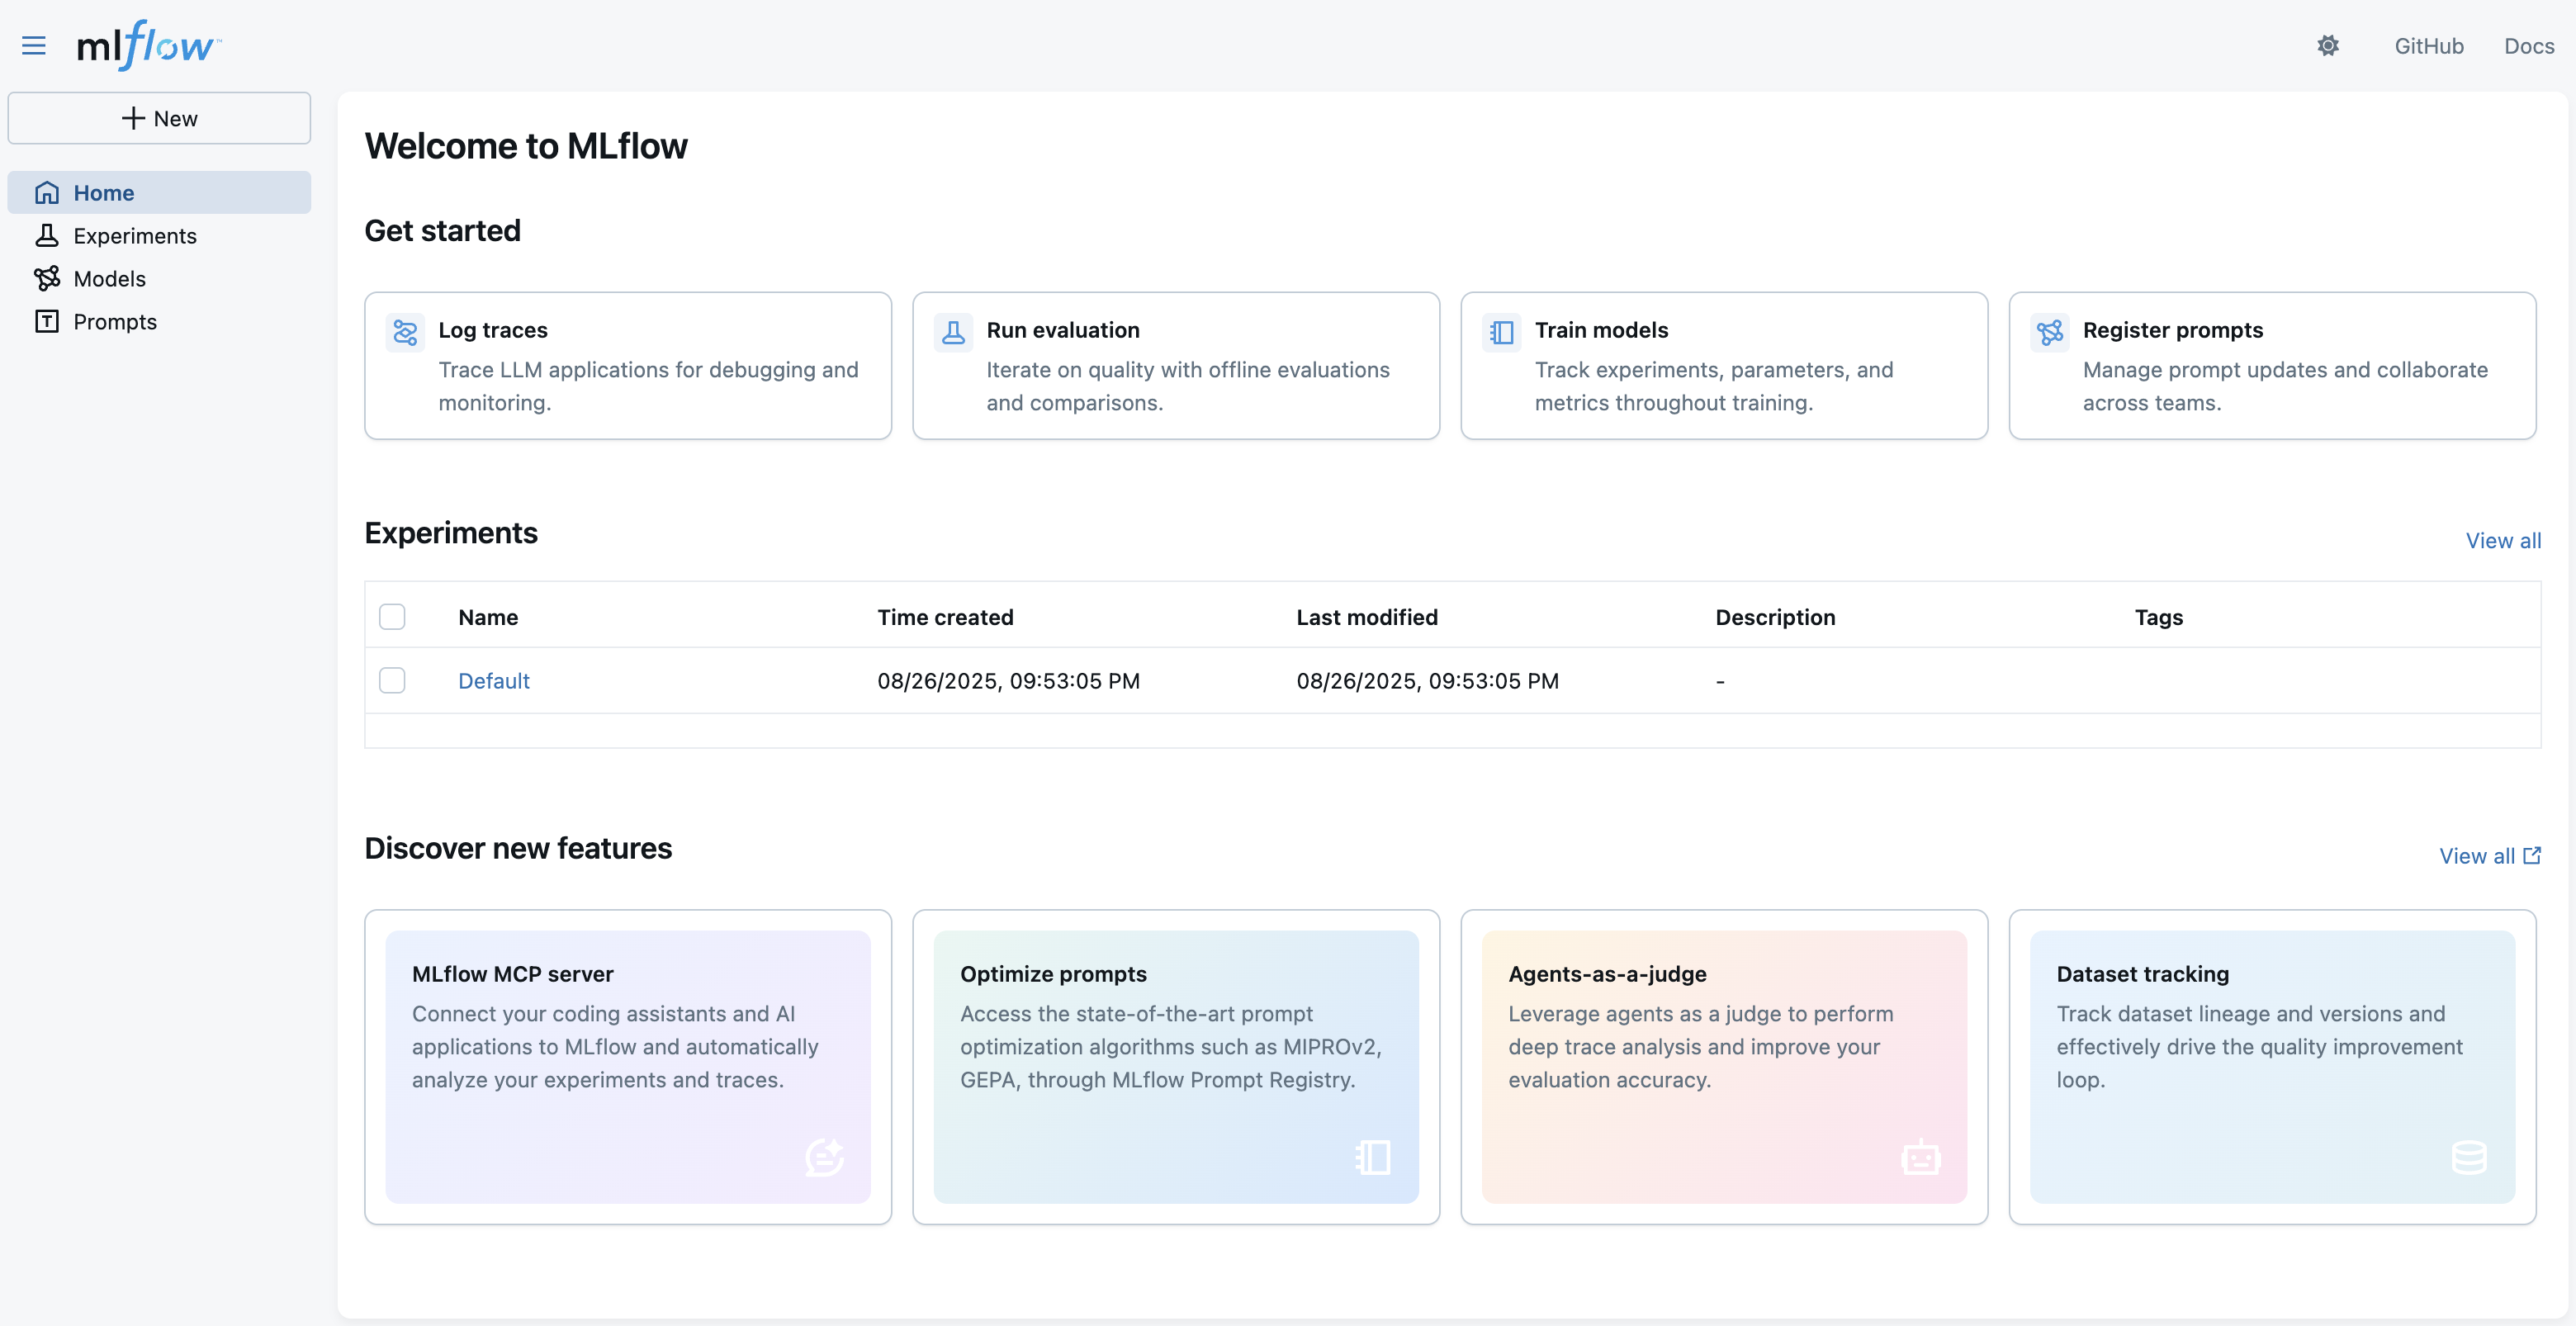
Step 4: Access MLflow UI

If you are using local tracking (option A or B), run the following command and access the MLflow UI at http://localhost:5000.

bash
# For Option A
mlflow ui --backend-store-uri sqlite:///mlflow.db --port 5000
# For Option B
mlflow ui --port 5000

If you have the remote tracking server running (option C), access the MLflow UI at the same URI.

ACCESS DENIED?

When using the remote tracking server, you may hit an access denied error when accessing the MLflow UI from a browser.

Invalid Host header - possible DNS rebinding attack detected

This error typically indicates that the tracking server's network security settings need to be configured. The most common causes are:

  • Host validation: The --allowed-hosts flag restricts which Host headers are accepted
  • CORS restrictions: The --cors-allowed-origins flag controls which origins can make API requests

To resolve this, configure your tracking server with the appropriate flags. For example:

bash
mlflow server --allowed-hosts "mlflow.company.com,localhost:*" \
--cors-allowed-origins "https://app.company.com"

Note: These security options are only available with the default FastAPI-based server (uvicorn). They are not supported when using Flask directly or with --gunicorn-opts or --waitress-opts.

Refer to the Network Security Guide for detailed configuration options.

Next Steps

Now that your environment is connected to MLflow, try the other GenAI quickstarts:

  • Instrument your app with tracing: Follow the quickstart to instrument your first GenAI app
  • Evaluate your app's quality: Use the evaluation quickstart to systematically test and improve your app's quality